
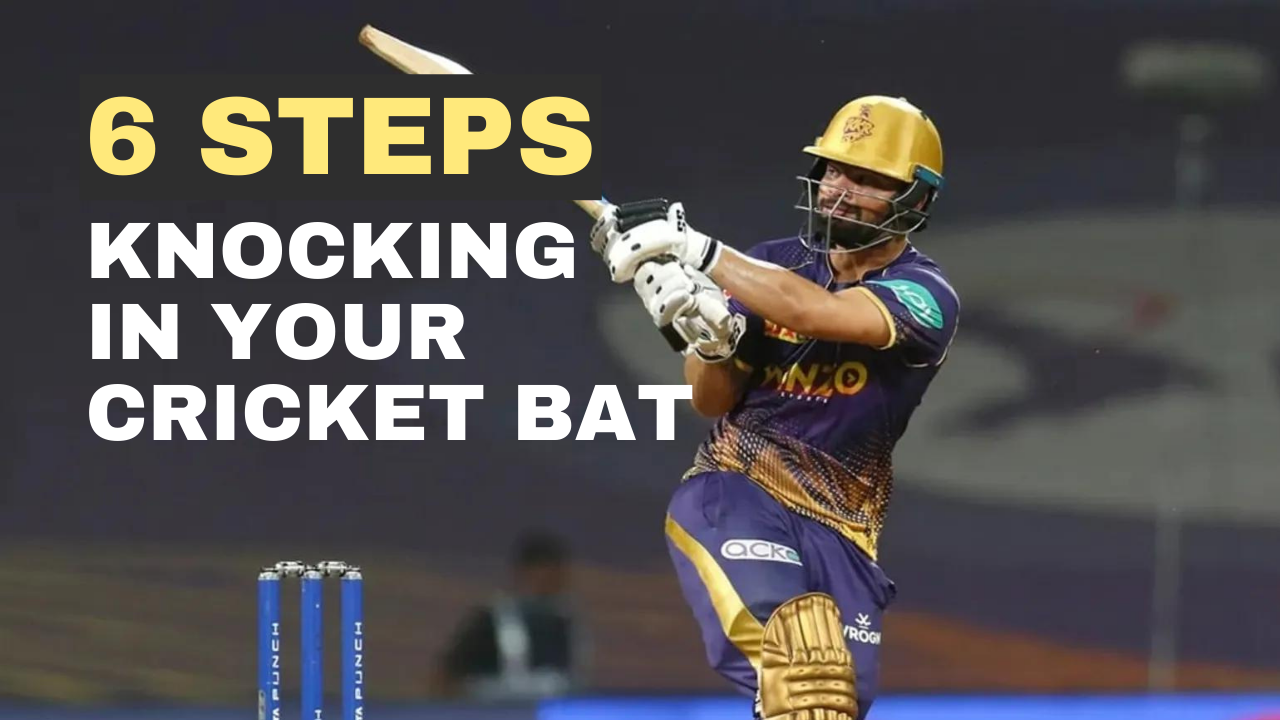
How To Knock In A Cricket Bat? Let’s go!
How to knock in a cricket bat? It’s a common question if you’ve just purchased a new cricket bat. One of the most important things you can do before taking it out to the middle is to knock it in properly.
Knocking in helps optimise your bat’s performance by compressing the wood fibres for better power and longevity. This comprehensive guide will cover everything you need to know about knocking in a new cricket bat — so let’s get into how to knock in a cricket bat!
Table of Contents
What Is Knocking In & Why Do It?
Knocking in a cricket bat means gently hitting the bat repeatedly with either a special mallet or a cricket ball. This compresses and aligns the fibres in the wooden bat to prepare it for gameplay. The primary benefits of properly knocking in your bat include:
- Compressing the edges prevents the edges from chipping or cracking prematurely when you play stronger strokes. Knocking in strengthens the structure.
- Whilst all willow is pressed during the making process, pressing typically leaves the bat soft in areas, and match balls are usually very hard. Your new bat will likely get seam marks and indentations unless properly knocked. The worst-case scenario is that the wood cracks and splits, often breaking the bat beyond repair.
- Making the bat last longer – a properly knocked-in bat will generally have a longer lifespan than one used immediately out of the wrapper. The pressed wood withstands wear and tear through seasons of play.
When knocking in a new cricket bat, you are essentially simulating strokes in a controlled manner. This pre-conditions the wood before you start playing full-force shots during matches. Preparation is key for getting the most out of your new cricket bat.
How to Knock In A Cricket Bat? The Tools Required
You’ll need:
- Linseed Oil or Cricket Bat Wax
- A bat mallet
- A scuff sheet
- A rubber toe guard or tube of shoo glue
Don’t worry — we’ll explain these as we work through this ultimate guide.
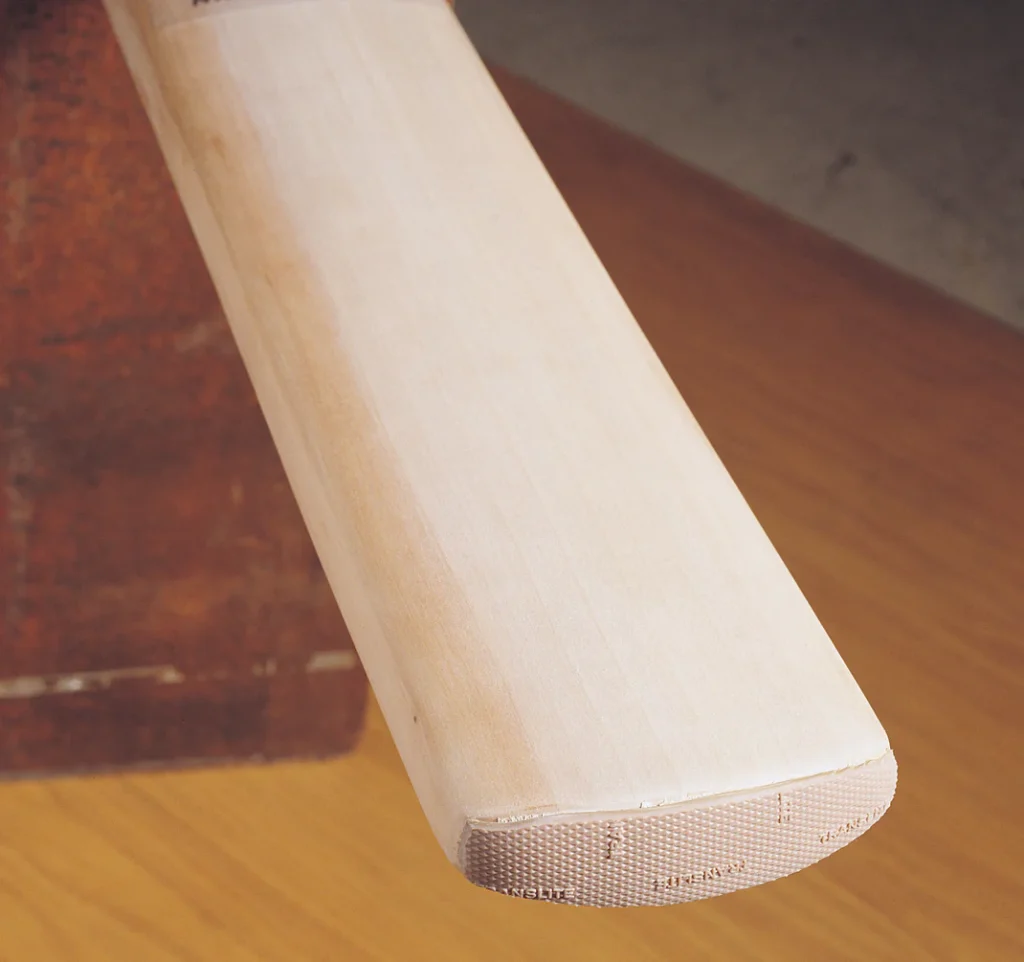
Step 1: Oiling Your Cricket Bat
1.1 How to oil your cricket bat
Cricket Bat Oil or Cricket Bat Wax?
There is an ongoing debate about whether cricket bat oil or cricket bat wax is better for preparing and maintaining a bat. Here is a comparison of the two options:
Cricket Bat Oil
- Oils like linseed oil penetrate the wood grains to keep the bat fibres supple and prevent drying out.
- Oiling provides moisture and protection without affecting the wood’s natural compression and springiness.
- Cheap and readily available. Most bat manufacturers recommend using some linseed oil.
Cricket Bat Wax
- Wax coats the surface rather than penetrating and acts as a protective barrier against moisture loss.
- Wax adds a glossy cosmetic enhancement.
- Wax needs buffing for best results—a more intensive process than oiling.
- It can be more expensive than a basic oil.
In summary, oils provide great moisture protection while maintaining a natural uncompressed feel, whereas waxes offer more durable shielding but take a bit more work. We like the shine you can get after using wax, but we recommend you start with a cricket bat oil if it’s your first time at knocking in a cricket bat.
Watch how to oil a cricket bat
1.2 How long to wait before starting to knock
Once we’ve completed the oiling process (regardless of whether we’ve used wax or raw oil), we should leave the bat to fully dry for 48-72 hours before moving on to the next phase of the job. This allows the oil to dry fully.
Step 2: The Knocking In Process
2.1 Boning the Cricket Bat
Why do we bone a cricket bat?
There are a few key reasons why boning or compressing the edges of a cricket bat is an important part of the knocking-in process:
- The edges of a cricket bat are the most vulnerable areas and are prone to chipping or cracking, especially on the outside edges.
- Using a mallet to gently compress and strengthen the edges during knocking makes the bat more durable and resistant to edge damage.
- Compressing the edges removes soft fibres more susceptible to breaking off when making contact with the ball during strokes.
In summary, properly compressing the vulnerable edges makes the bat more durable.
How do we bone a cricket bat?
Watch the video below — it jumps immediately to the cricket bat boning section.
2.2 The best mallet for the knocking process
A hardwood bat mallet works much better than any other type of bat mallet.
Watch the clip below talking about the different types of mallets:
2.3 Knocking the bat: the best technique
Begin by striking the bat’s centre with enough force to indent it, a task that may be more challenging than anticipated. Hold the bat against the light to ensure an indent has been formed. Then, progressively press down the bat’s face surrounding this indent until it flattens, making the initial dent invisible.
The bat’s edges demand extra care. They should be smoothed out to prevent significant damage from the hard, new ball. Strike the edges at a 45-degree angle relative to the bat’s face, allowing the mallet to compact the willow. Like the process for the face, start by making a single indent on the edge, then methodically even it out until the entire edge maintains a seamless, rounded contour.
Striking the bat’s edge at a 90-degree angle to its face is not advisable as it narrows the bat’s width and impacts an area not designed to withstand such force, elevating the risk of cracks. Furthermore, hitting the ball directly on the edge is not recommended.
2.4 When is the knocking-in finished?
Knocking in a cricket bat takes around 2 hours in total. You should be able to hear, see and feel the difference in the bat. You’ll feel when it’s ready!
2.5 Toe Guards
There are several different toe guard types.
A fitted rubber toe guard can protect the toe of your cricket bat from the effects of splits, cracks and feathering. A toe guard also prevents moisture absorption, which could cause swelling and longer-term damage.
An example of this would be the Gray Nicholls Protectoe.
Our recommendation, however, is for a Shoe Goo toe guard. The best way to understand these is to watch the video below:
Step 3: Applying a Scuff Sheet
A scuff sheet is a protective cover that is applied to the face of a cricket bat to help protect it from wear and tear, as well as from the impact of the cricket ball. These sheets are typically made of a clear, self-adhesive polyurethane material, which allows the wood’s natural appearance to show through while providing an additional layer of strength. Professional cricketers prefer ‘fibre scuff’ as it is marginally lighter.
Here are a few reasons why players use scuff sheets on their cricket bats:
- Protection: The primary purpose of a scuff sheet is to shield the bat’s surface from damage caused by the cricket ball’s impact. It helps prevent cracks, splits, and other damage that can occur through regular use.
- Prolonging Bat Life: By safeguarding the bat against damage, scuff sheets can extend its lifespan, helping it maintain its performance characteristics for longer.
- Maintenance: A scuff sheet makes a cricket bat easier to clean and maintain. Dirt and residue from the ball can be wiped off the scuff sheet more easily than from the wood itself.
At this stage, you could use cricket bat gutting to help protect your bat further. Click the link.
Step 4: Netting with old balls
After knocking in your cricket bat with a mallet, take your new bat to practice. Net with old balls, give catches with it and use it around your fielding practices.
If you see the bat marking with seam indentations, we’ve not knocked the cricket bat in sufficiently, and we should go back to step 2.
However, if there are no marks and you’ve used it a few times in the nets, it’s time for the bat to make its way to the middle!
Step 5: Get some runs!
Cricket bats are made to be used in the middle — get your bat out in a game and give it a whack. Remember, it’s a natural product that will be marked during gameplay. However, the process we’ve been through ensures the cricket bat is as protected as possible by our knocking-in, our boning, our scuff sheet and toe protection and our gentle practice sessions.
Time to clear the ropes!
Conclusion
Knocking in helps optimise your bat’s performance by compressing the wood fibres for better power and longevity. It’s a hugely worthwhile process that delivers maximum return on your new cricket bat.
Knock your cricket bat in, take guard and give it a whack. We’re happy to answer questions below!